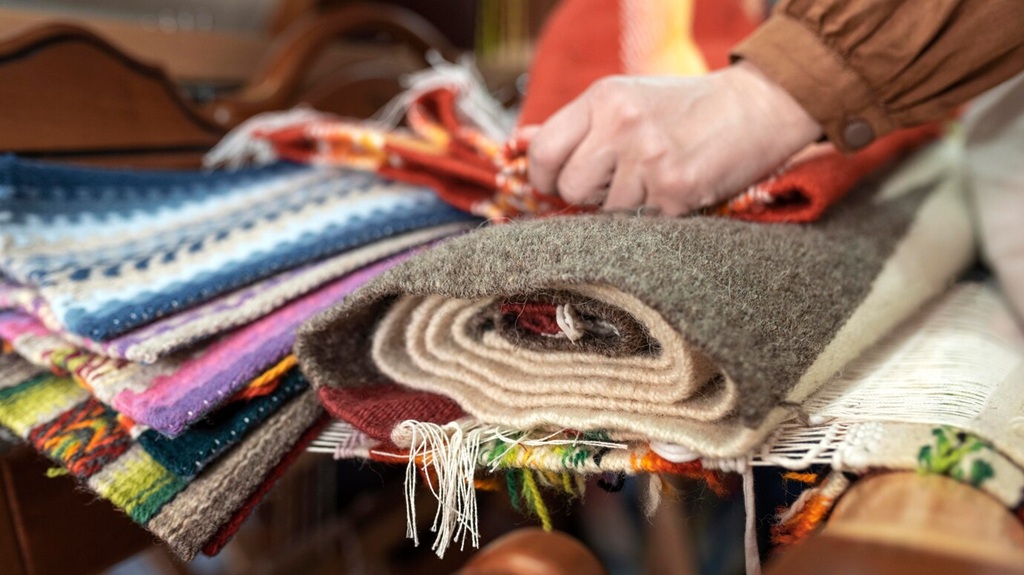
There’s something incredibly satisfying about creating something beautiful and useful for your home with your own two hands. Imagine stepping onto a soft, colourful rug that you didn’t buy, but made – a unique piece woven not just with fabric, but with your time and creativity. Rag rugs, born from the thrifty ingenuity of generations past, are making a huge comeback. They’re sustainable, budget-friendly, and brimming with rustic charm.
But what if the thought of sewing machines, patterns, and complex stitches makes you break out in a cold sweat? Good news! You absolutely don’t need to be a sewing expert to create a gorgeous, durable rag rug. This guide is dedicated to the wonderful world of no-sew rag rugs, proving that anyone can transform a pile of old clothes or linens into a cozy floor covering. Let’s dive into the simple, meditative process of making your very own no-sew rag rug.
Why Go No-Sew? The Simple Charm of Needle-Free Rug Making
Opting for a no-sew method opens up the world of rag rug making to everyone. You don’t need a fancy sewing machine or even basic hand-stitching skills. The techniques primarily involve braiding, knotting, or simple weaving – actions that are easy to learn and quite relaxing once you get into the rhythm.
Beyond accessibility, no-sew methods often highlight the texture and character of the fabrics in a unique way. The slightly chunkier braids or plush knots create a wonderfully tactile experience underfoot. It’s a faster route to a finished product, offering quicker gratification, and the minimal tool requirement makes it an ideal project to pick up almost anywhere. It’s crafting distilled to its simple, satisfying essence.
Gathering Your Treasures: Supplies You’ll Need
Before you embark on your rag rug adventure, let’s gather your materials. The beauty lies in the simplicity:
- Fabric Scraps: This is the star of the show! Raid your closets for old t-shirts, worn-out jeans, flannel pyjamas, old bed sheets, pillowcases, or even fabric remnants from other projects. Aim for materials that are relatively easy to cut and handle.
- Sharp Scissors or a Rotary Cutter & Mat: Good cutting tools make preparing your fabric strips much easier and faster. A rotary cutter and mat are particularly efficient if you have a lot of fabric to process.
- Ruler (Optional but helpful): Helps maintain consistency when cutting strips, though slight variations add to the charm.
- Base (Optional, for Knotted Rugs): If you’re making a knotted (shaggy or loopy) rug, you’ll need a base material like non-slip rug matting (the rubbery mesh kind), rug canvas, or even sturdy hessian (burlap).
- Helpers (Optional): For knotted rugs, a latch hook tool, a large crochet hook, or even a pair of tweezers can make pulling fabric strips through the base easier, but aren’t strictly necessary. For braided rugs, a safety pin can help anchor the start of your braid.
Choosing Your Palette: Selecting the Right Fabrics
Almost any fabric can be used, but some are easier for beginners and yield better results for no-sew techniques.
- T-shirts (Jersey Knit): The undisputed champion for many rag rug makers! T-shirt material is soft, slightly stretchy, easy to cut, doesn’t fray much, and braids/knots beautifully. It creates a soft, pliable rug. Look for t-shirts with a bit of elastic content, as they tend to shed less fluff.
- Cotton Bed Sheets: Another excellent choice. They are readily available (check thrift stores!), easy to tear into strips (often quicker than cutting), and come in various colours and patterns. They create a slightly firmer rug than t-shirts.
- Flannel: Cozy and soft, flannel works well, especially for braided rugs. It adds warmth and texture.
- Denim: Creates a super durable, sturdy rug. It can be tougher to cut and braid/knot due to its thickness, but the result is long-lasting and has a classic look. Aim for jeans that aren’t excessively thick or stiff.
- Other Contenders: Light canvas, quilting cottons, and even old towels can work.
Tips for Fabric Selection:
- Wash First: Always wash and dry your fabrics before cutting. This prevents shrinking or colour bleeding in the finished rug and removes any lingering dust or odours.
- Mix Textures: Don’t be afraid to combine different types of fabric (e.g., t-shirts and cotton sheets) within the same rug. This adds visual interest and unique texture.
- Consider Thickness: Try to use fabrics of roughly similar weight and thickness within a single braid strand or knotting section for a more even result, although perfect uniformity isn’t required. Thicker fabrics generally require wider strips.
Prepping for Perfection: Cutting and Joining Fabric Strips
This is arguably the most time-consuming part, but put on some music or a podcast, and it becomes quite meditative.
Cutting Your Strips:
- Width: Aim for strips between 1 to 3 inches (2.5 cm to 7.5 cm) wide.
- For t-shirts and lighter cottons: 1-2 inches is often good.
- For denim or thicker flannel: 2-3 inches might be better.
- For knotted rugs using a base: Strips are often cut shorter in length as well (e.g., 5-6 inches long). For braiding, you want long, continuous strips.
- Method:
- T-shirts: Lay the t-shirt flat, cut off the bottom hem and the section under the armpits. Cut across the torso in a continuous spiral to create one long strip, or cut straight across into loops, then cut the loops into strips.
- Sheets/Cotton: Make a small snip with scissors at the desired width along one edge, then tear the fabric. Cotton often tears relatively straight along the grain. Alternatively, use a rotary cutter and mat for precise cuts.
- Denim: Cut off the legs. Cut off the thick seams and hems. Cut the leg into strips, either straight across or in a spiral like the t-shirt method.
Joining Strips Without Sewing:
You’ll inevitably run out of a strip and need to join a new one. Here’s the magic no-sew method:
- Take the end of the strip you’re currently working with and cut a small vertical slit (about 1/2 inch) near the end.
- Take the beginning of your new fabric strip and cut a similar slit near its end.
- Overlap the two ends so the slits align.
- Take the long tail of the new strip and feed it through both aligned slits (from bottom to top).
- Pull the tail all the way through.
- Gently tug the strips apart – they will form a secure, flat knot!
Continue joining strips as needed to create long lengths for braiding or a large pile of shorter strips for knotting.
Related: Fence Lattice Without Posts: DIY Guide for Enhanced Privacy & Curb Appeal
Technique 1: The Classic No-Sew Braided Rag Rug
This is the quintessential rag rug image for many. It creates durable, often circular or oval rugs.
- Start the Braid: Take three long fabric strips. Knot them together securely at one end. You can use a safety pin to attach this knotted end to a cushion or the arm of a chair to keep it stable while you work.
- Begin Braiding: Start braiding the three strips just like you would braid hair: cross the right strip over the middle strip, then cross the left strip over the new middle strip. Repeat. Try to keep the tension relatively even – not too tight, not too loose.
- Add New Strips: When one strip starts running short (leave a tail of a few inches), use the no-sew slit method described above to join a new strip of fabric. Stagger your joins so you aren’t joining all three strands in the same place, which can create a weak spot.
- Coil and Connect (The “No-Sew” Join): This is the key! There are two main approaches:
- Coil As You Go (Best for stretchy fabrics like t-shirts): After braiding a few inches, start coiling the braid tightly into a circle or oval. As you continue braiding, instead of just crossing the outer strip over the middle, loop the outer strip through an exposed loop on the edge of the adjacent braid row before crossing it over the middle. This essentially weaves the rows together as you go. You might need to gently poke the fabric through with your fingers or a blunt tool (like a chopstick or crochet hook handle). This requires a bit of practice to keep neat but creates a seamless rug.
- Braid First, Lace Later (Works well for less stretchy fabrics): Braid one very, very long continuous rope of fabric. Once you have a braid long enough for your desired rug size, start coiling it flat on a table in your desired shape (circle or oval). Now, take a separate strong fabric strip (or sturdy twine/cord) and a large-eyed needle (like a tapestry needle or bodkin). Lace the coils together by passing the lacing strip back and forth between adjacent braid rows, catching loops on each side. Keep the lacing snug but not so tight it puckers the rug. This method gives more control over the final shape.
- Finishing: When your rug reaches the desired size, finish the braid by securely tucking the last few inches of the strips back into the braid itself. If you used the lacing method, securely knot off your lacing strip.
Technique 2: The Plush No-Sew Knotted Rag Rug
This method creates a shaggier or loopier texture, depending on how you tie the knots. It requires a base material.
- Prepare Your Base: Cut your non-slip rug mat, rug canvas, or hessian to the desired size and shape (rectangle, circle, heart – get creative!).
- Cut Fabric Strips: For this method, you need shorter strips, typically around 1 inch wide and 5-6 inches long (adjust length for desired pile height). Cut a large pile of these strips.
- Start Knotting: Choose a starting point (usually a corner or edge). Take one fabric strip.
- Using a Tool (Latch Hook/Crochet Hook): Push the hook down through one hole/mesh opening in your base and up through an adjacent one. Fold your fabric strip in half over the hook. Pull the hook back through, bringing the loop of the fabric strip to the surface. Remove the hook, feed the two tails of the fabric strip through the loop, and pull tight to form a knot (this is a Latch Hook knot, also called a Ghiordes knot).
- Using Fingers/Tweezers: Push the ends of a fabric strip down through two adjacent holes in the base from the top side, leaving a loop on top. Reach underneath, grab the two ends, and pull them partially through. Now, push the ends through the loop on the top side and pull tight. Alternatively, simply poke the strip down one hole and up the next, and tie a simple, secure double knot on the top surface.
- Fill the Base: Continue adding strips and tying knots, working in rows across your base. You can place a knot in every hole or skip holes depending on the desired density and the thickness of your fabric. Try to be consistent. Using different colours creates patterns or a lovely confetti effect.
- Finishing: Once the entire base is covered, your rug is essentially finished! Check the back for any excessively long tails and trim if needed.
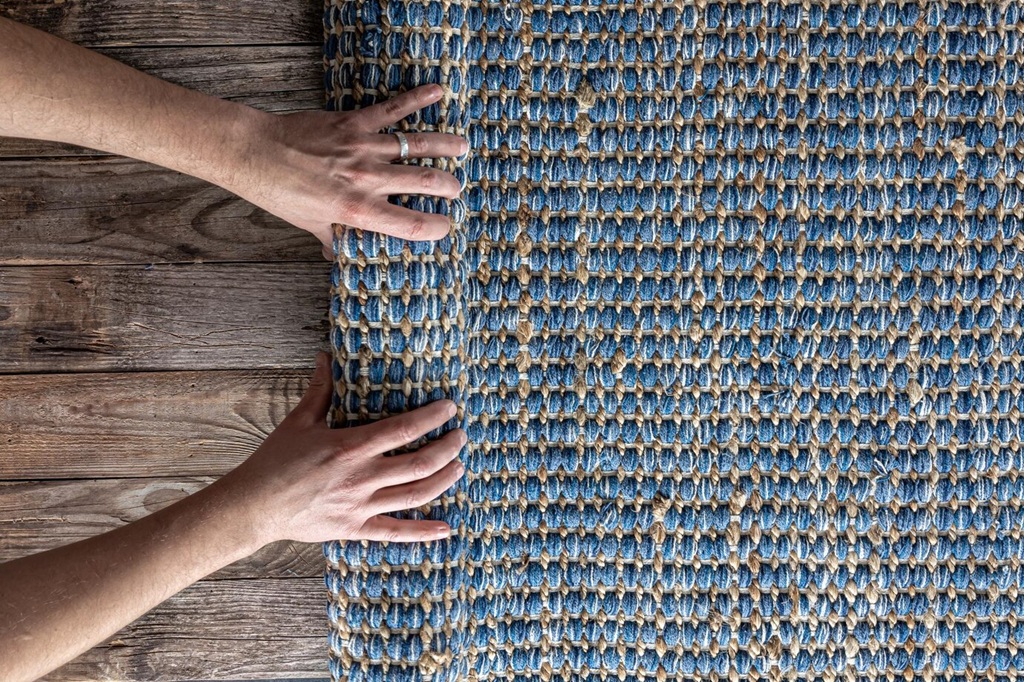
Technique 3: Weaving Wonders with a Simple Loom (No-Sew Hula Hoop Rug)
For a different look, particularly circular rugs, you can create a simple loom.
- Warp the Loom: Take a sturdy hula hoop. Tie strong twine or long, sturdy fabric strips across the hoop like spokes on a wheel, ensuring they cross in the center and are relatively taut. These are your warp threads.
- Weave: Take a long fabric strip (use the no-sew join as needed). Tie one end to the center warp threads. Begin weaving the strip over and under the warp threads, working outwards in a spiral. Pack the rows together gently as you go.
- Finish: When the rug is the desired size, cut the warp threads from the hoop, leaving tails. Tie adjacent warp threads together securely around the woven edge to prevent unraveling. Trim ends.
Related: DIY Disaster or Design Delight? Home Improvement Projects That Pay Off
Finishing Touches: Bringing Your Rug to Life
Whichever method you choose, a few final steps make a difference:
- Secure Ends: Double-check all starting and ending tails. Weave them securely back into the body of the rug for a few inches before trimming any excess.
- Trim (Optional): For knotted rugs, you might want to give your rug a “haircut” to even out the pile height for a neater finish. For braided rugs, trim any stray threads.
- Add Backing (Recommended): Especially for braided rugs, adding a non-slip rubber rug pad underneath is crucial for safety to prevent slips and slides. For knotted rugs made on a non-slip base, this is already built-in.
Tips from the Rag Trade: Ensuring Rug Success
- Consistency is Key (Mostly): While perfect uniformity isn’t the goal of a rustic rag rug, try to keep your strip widths and braiding/knotting tension relatively consistent for a rug that lays flat and wears evenly.
- Colour Play: Plan your colours for stripes or patterns, or embrace randomness for a scrappy, eclectic look! Laying out strips beforehand can help visualize.
- Start Small: If you’re unsure, try making a small placemat or trivet first using your chosen technique to get the hang of it before committing to a large rug.
- Maintenance: Shake your rug out regularly. For cleaning, spot cleaning is often best. Some sturdy, tightly made rugs (especially those from cotton or t-shirts knotted on hessian) might tolerate a gentle machine wash on a cool, delicate cycle (place in a pillowcase or duvet cover for protection), but always test fabric fastness first and air dry flat. Handwashing is a safer bet. Avoid machine washing loosely braided or delicate fabric rugs.
People Also Ask: Your No-Sew Rag Rug Questions Answered
Q1: What are the easiest fabrics for a beginner no-sew rag rug?
A: Cotton t-shirts and cotton bed sheets are generally the easiest to work with. They cut or tear relatively easily, aren’t too thick, and handle well during braiding or knotting.
Q2: How do I clean my homemade rag rug?
A: Regular shaking removes loose dirt. Spot clean spills immediately. For deeper cleaning, handwashing gently in cool water with mild detergent and air drying flat is safest. Some very sturdy rugs might handle a gentle, cool machine wash, but proceed with caution and never put them in the dryer.
Q3: How long does it take to make a no-sew rag rug?
A: This varies wildly! It depends on the rug size, the technique (knotting can be faster per square inch than braiding and lacing), the complexity of any pattern, how fast you prepare strips, and your experience. A small mat might take a few hours; a large room rug could take several days or even weeks of relaxed crafting time.
Q4: How do I make sure the fabric strips don’t come undone?
A: For braided rugs, the tension of the braid and the method of joining rows (weaving-as-you-go or secure lacing) holds things together. For knotted rugs, tying secure knots (latch hook knots or tight double overhand knots) is crucial. Always securely weave in the final ends of your strips.
Q5: Does the width of the fabric strips really matter?
A: Yes and no. Consistency helps the rug look more uniform and lay flatter, especially with braiding. However, slight variations add to the handmade charm. Adjust width based on fabric thickness – use narrower strips for thick fabrics like denim and wider strips for thin fabrics like t-shirts. For knotted rugs, strip width mainly affects the plushness.
Q6: My fabric is shedding fluff everywhere while I cut it! Is this normal?
A: Some shedding, especially from 100% cotton t-shirts or flannel, is normal during cutting. It shouldn’t affect the final rug integrity too much. However, avoid fabrics that are loosely woven or knitted and seem to completely disintegrate when cut – these won’t hold up well.
Conclusion: Step Onto Your Handmade Creation
Making a no-sew rag rug is more than just a craft project; it’s an act of transformation. You take discarded materials – reminders of past garments or linens – and breathe new life into them, creating something warm, functional, and uniquely yours. It’s a nod to sustainable living, a potentially meditative practice, and a wonderfully tangible way to add personality and comfort to your home.
Whether you choose the rhythmic braiding, the plush knotting, or simple weaving, the process is accessible and rewarding. So gather those old fabrics, find your sharpest scissors, and get started. Prepare to be amazed at the beautiful, cozy rug you can create with just your hands and a bit of time. Step onto your finished creation with pride – you made that!