


Adding lattice to the top of an existing fence is a fantastic way to boost privacy, enhance curb appeal, and even create a more inviting atmosphere in your backyard. But the thought of digging post holes and setting new posts can be daunting. Thankfully, there are effective methods to attach lattice directly to your existing fence, saving you time, effort, and money. This comprehensive guide will walk you through the process, providing detailed steps, tips, and considerations to ensure a successful and aesthetically pleasing project.
Understanding the Benefits: Why Add Lattice to Your Fence?
Before diving into the “how-to,” let’s explore the advantages of adding lattice. Primarily, it significantly increases privacy. Lattice creates a semi-opaque barrier, blocking unwanted views while still allowing some airflow and light to pass through. This makes it ideal for creating secluded outdoor spaces. Moreover, the lattice adds a decorative touch, transforming a plain fence into a visually appealing feature. It can complement various architectural styles and garden designs, enhancing your property’s overall aesthetic. Additionally, adding height with lattice can deter potential intruders, adding a layer of security to your property. Finally, it provides a perfect support structure for climbing plants, allowing you to create a living green wall that further enhances privacy and beauty.
Assessing Your Existing Fence: Is It Suitable for Lattice?
The success of a post-less lattice installation hinges on the condition and stability of your existing fence. Before proceeding, carefully evaluate your fence. Ensure the posts are sturdy and firmly anchored in the ground. Weak or leaning posts will not provide adequate support for the added weight of the lattice, potentially leading to structural failure. Check for signs of rot, decay, or damage to the fence panels and posts. If any repairs are needed, address them before installing the lattice. Also, consider the height and design of your fence. A taller, solid fence will provide a more stable base for the lattice than a short, picket-style fence.
Choosing the Right Lattice: Materials, Styles, and Considerations
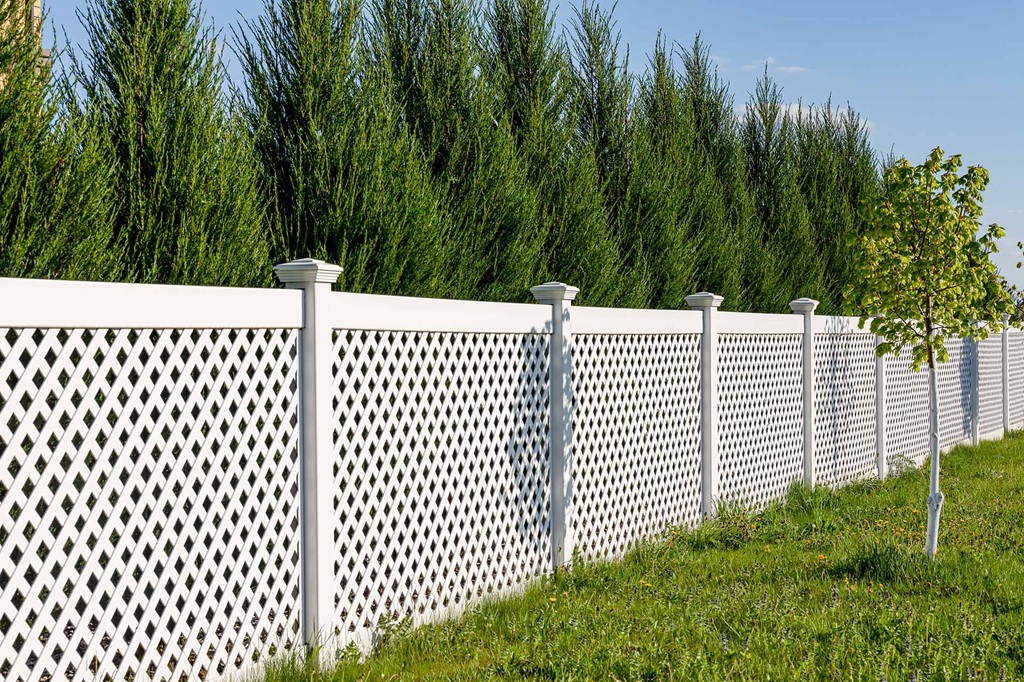
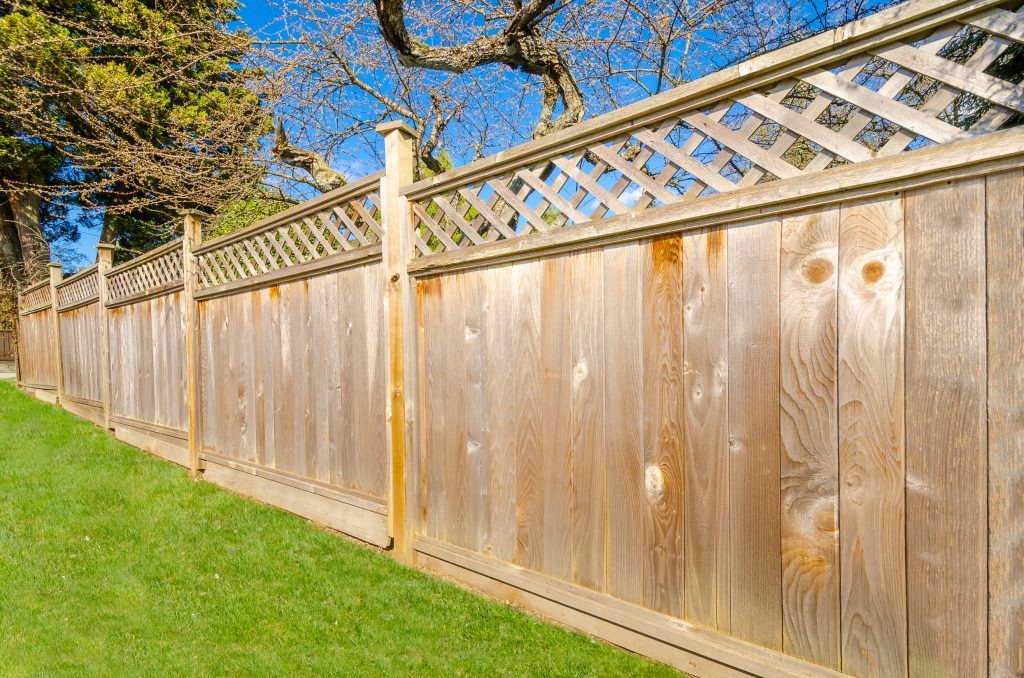
Lattice comes in various materials, each with its own advantages and disadvantages. Pressure-treated wood is a popular choice due to its durability and resistance to rot and insects. However, it requires regular maintenance to prevent warping and cracking. Vinyl lattice is another excellent option, offering low maintenance, weather resistance, and a range of colors and styles. Composite lattice, made from a blend of wood fibers and recycled plastics, combines the aesthetic appeal of wood with the durability of vinyl. Consider the style of your existing fence and the overall aesthetic you want to achieve when selecting the lattice pattern. Common patterns include square, diagonal, and privacy lattice. Choose a pattern that complements your fence and provides the desired level of privacy.
Preparing Your Fence: Cleaning and Reinforcing for Success
Before attaching the lattice, thoroughly clean your fence to remove dirt, debris, and mildew. Use a mild detergent and a scrub brush to clean the surface. If your fence is made of wood, consider applying a wood preservative to protect it from the elements. To reinforce your fence, especially if it’s tall or exposed to strong winds, you can add horizontal support rails along the top of the fence panels. These rails will provide a more stable surface for attaching the lattice and prevent sagging. Use pressure-treated lumber for the rails to ensure durability.
Related: Enhance Your Garden’s Charm with a Round Wood Fence
Attaching the Lattice: Step-by-Step Guide
- Measure and Cut: Measure the width of your fence panels and cut the lattice panels to the appropriate size using a circular saw or jigsaw. Ensure the cuts are clean and straight for a professional finish.
- Attach Support Blocks: Cut small blocks of wood (pressure-treated or composite) to act as spacers between the fence and the lattice. These blocks will create an air gap, preventing moisture buildup and promoting airflow. Attach the blocks to the top of the fence panels using exterior-grade screws or construction adhesive. Space the blocks evenly along the fence panel.
- Position and Secure the Lattice: Position the lattice panel on top of the support blocks, ensuring it’s level and aligned with the fence. Use exterior-grade screws to secure the lattice to the fence. Drive the screws through the lattice and into the support blocks and fence panels. Space the screws evenly to distribute the weight of the lattice and prevent warping.
- Add Trim (Optional): To enhance the aesthetic appeal and provide a finished look, you can add trim around the edges of the lattice. Use pressure-treated or vinyl trim that matches the lattice material. Attach the trim using finishing nails or construction adhesive.
- Finishing Touches: Inspect the installed lattice for any loose screws or gaps. Apply a sealant or paint to the cut edges of the lattice to protect it from moisture. If desired, paint or stain the lattice to match your fence or create a contrasting color scheme.
Tips for a Professional Finish:
- Use a level to ensure the lattice is installed straight and even.
- Pre-drill pilot holes before driving screws to prevent splitting the wood.
- Use stainless steel or galvanized screws to prevent rust.
- Apply a bead of caulk along the edges of the lattice to seal any gaps.
- Consider adding decorative post caps to the existing fence posts to enhance the overall look.
- If you have a corner fence, you will need to miter the lattice to create a clean corner finish.
Related: Which Is the Best Fencing for Your Land? Exploring Options
People Also Ask (FAQs):
- Can I add lattice to a chain-link fence without posts?
- Yes, but it requires a different approach. You’ll need to use zip ties or wire to attach the lattice to the chain-link fabric. Reinforcing the top rail of the chain link fence will add stability.
- How much weight can my fence support?
- The weight capacity depends on the condition and strength of your fence. A sturdy, well-maintained fence can support a moderate amount of weight. However, it’s essential to distribute the weight evenly and avoid overloading the fence.
- What is the best material for lattice in a humid climate?
- Vinyl or composite lattice is ideal for humid climates due to its resistance to moisture, rot, and mildew.
- Do I need a permit to add lattice to my fence?
- Permit requirements vary depending on your local building codes. Check with your local authorities to determine if a permit is necessary.
- How high can I make my fence with lattice?
- Again, local codes will dictate this. Most areas have height restrictions for fences. Check with your local city or county offices.
- Can I grow plants on a lattice fence addition?
- Yes, the lattice is perfect for climbing plants. Make sure the plants are not too heavy for the fence, and that the added weight will not cause a problem.
Conclusion: A Simple Upgrade with Significant Impact
Adding lattice to your existing fence without installing new posts is a practical and cost-effective way to enhance privacy, boost curb appeal, and create a more inviting outdoor space. By carefully assessing your fence, choosing the right materials, and following the steps outlined in this guide, you can achieve a professional-looking result that adds value and beauty to your property. Remember to consider your local building codes and regulations before starting your project. With a little planning and effort, you can transform your plain fence into a stunning feature that you’ll enjoy for years to come.