


A persistent drip from your kitchen faucet can be more than an annoyance. It translates to wasted water, a rising water bill, and potential damage to your cabinets and countertops. But before you call in a plumber, consider tackling the leak yourself! Fixing a leaky faucet is a DIY project well within reach for most homeowners with a little know-how and the right tools.
Understanding the Source of the Leak
Kitchen faucets come in two main types: single-handle and two-handle. Both utilize similar internal mechanisms to control water flow, but how they’re constructed differs slightly. Regardless of the type, leaks typically originate from three common areas:
- Handle Base: This is the most common culprit. Worn-out or loose O-rings around the handle stem can cause drips where the handle meets the faucet body.
- Cartridge/Valve: A single-handle faucet uses a cartridge to regulate water flow. Over time, the cartridge can wear due to mineral deposits or constant use, leading to leaks. In a two-handle faucet, the valve stem packing, located beneath the handle, might need tightening or replacement.
- Spout: Leaks around the spout base are less frequent but can occur due to deteriorated O-rings or a loose connection between the spout and the faucet body.
Gathering Your Tools and Supplies
Before diving in, assemble your tools and supplies:
- Adjustable wrench
- Flathead screwdriver
- Allen wrench (set if unsure of size)
- Bucket or towel
- Replacement parts: These will depend on the source of the leak. You can usually find faucet repair kits at hardware stores that include a variety of O-rings, washers, and sometimes a replacement cartridge specific to your faucet brand.
- Plumber’s grease (optional): Applying a thin layer of plumber’s grease to certain parts during reassembly can improve performance and longevity.
Identifying Your Faucet Brand and Model
Knowing your faucet’s brand and model is crucial for obtaining the correct replacement parts. Often, the brand name is printed on the base of the faucet or handle. If not, you might need to consult the owner’s manual or search online using pictures and descriptions.
Shutting Off the Water Supply
Safety first! Locate the shut-off valves beneath the sink for your hot and cold water supply lines. They’ll typically have handles you can turn by hand (clockwise to shut off). Once closed, turn on the faucet handle to release any remaining pressure and ensure the water is off completely.
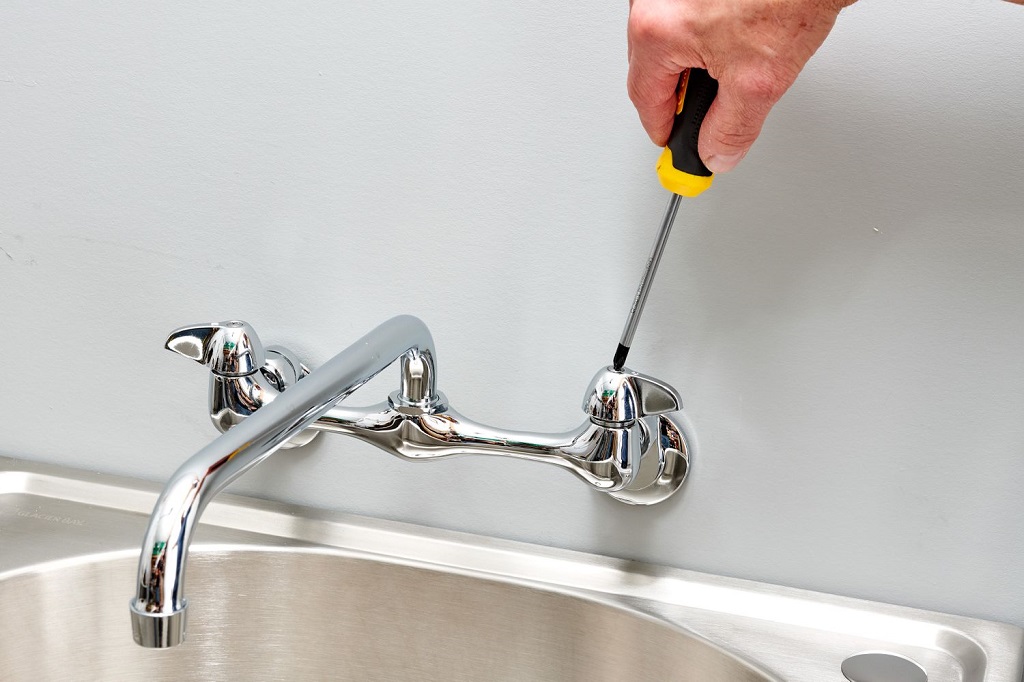
Fixing a Leaky Handle Base (Single & Two-Handle Faucets)
-
Remove the Handle: Most handles have a small set screw hidden under a decorative cap (often pried off with a screwdriver). Locate and loosen the set screw with the appropriate Allen wrench. Once loose, carefully pull the handle straight up to remove it.
-
Tighten the Packing Nut (Two-Handle Faucets Only): Beneath the handle, you’ll see a packing nut around the valve stem. Using the adjustable wrench, tighten the nut slightly in a clockwise direction. Be cautious – overtightening can damage the valve stem.
-
Replace O-rings (Both Faucet Types): With the handle removed, you’ll see one or more O-rings around the valve stem where it enters the faucet body. Carefully remove the old O-rings and replace them with new ones from your repair kit.
-
Reassemble and Test: Put the handle back on, tighten the set screw, and turn on the water supply valves beneath the sink. Turn on the faucet and check for leaks. If the leak persists, you might need to replace the cartridge (single-handle) or tighten the packing nut further (two-handle).
Fixing a Leaky Cartridge (Single-Handle Faucets)
-
Remove the Handle (as described above).
-
Unscrew the Cartridge Retainer Nut: This nut is located beneath the handle, usually held in place by a clip. Use the adjustable wrench to loosen and remove it.
-
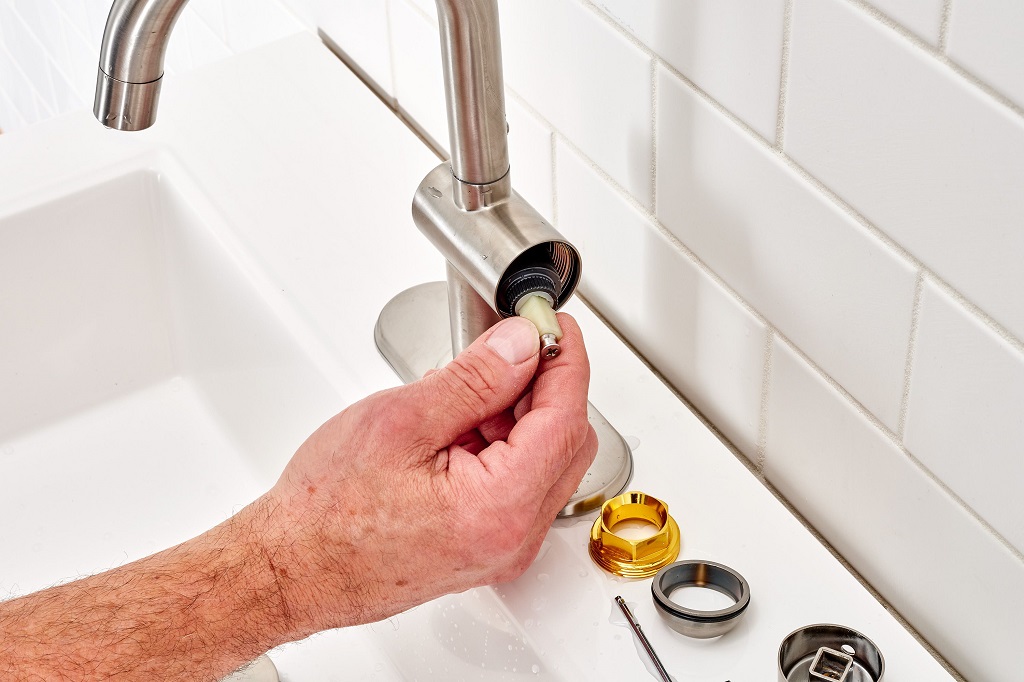
Extract the Cartridge: Pull the cartridge straight out of the faucet body.
-
Replace the Cartridge: Match the new cartridge with the old one (number of handles, hot/cold markings) and insert it firmly into the faucet body.
-
Reassemble and Test: Screw the retainer nut back on, replace the handle, and tighten the set screw. Turn on the water supply and test for leaks.
Fixing a Leaky Spout
- Disconnect the Water Supply Lines: Beneath the sink, use the adjustable wrench to loosen and disconnect the flexible water supply lines from the faucet body (one for hot and one for cold). Fixing a Leaky Spout (Continued)
-
Unscrew the Spout Nut: Locate the nut that holds the spout in place, typically situated at the base of the spout where it meets the faucet body. Use the adjustable wrench to loosen and remove this nut.
-
Replace O-rings (if applicable): Similar to the handle base, there might be O-rings around the spout’s connection point. If present and worn, replace them with new ones from your repair kit. Apply a thin layer of plumber’s grease to the new O-rings for smoother operation.
-
Reattach the Spout: Screw the spout nut back on, ensuring a snug but not overtightened fit. Reattach the water supply lines using the adjustable wrench, making sure the connections are secure but not excessively forced.
-
Test and Tighten: Turn on the water supply valves beneath the sink and open the faucet. Check for leaks at the spout base and around the connections. If leaks persist, carefully tighten the spout nut or water supply line connections (avoid overtightening).
Tips for Success:
- Take Pictures: Before disassembling your faucet, take pictures of each step, especially how parts were oriented. This serves as a valuable reference during reassembly.
- Work Meticulously: Faucet repairs involve small parts. Work slowly and carefully to avoid losing or damaging components.
- Leftover Parts? If you have unused parts after the fix, it doesn’t necessarily mean you did something wrong. Faucet repair kits often include a variety of parts to accommodate different faucet models.
When to Call a Plumber
If the leak persists after trying the above steps, or if you’re uncomfortable with any part of the process, don’t hesitate to call a professional plumber. Here are some additional situations where a plumber’s expertise might be necessary:
- Broken or Damaged Parts: If you encounter broken components like a cracked cartridge or a stripped screw, a replacement part alone might not solve the issue. A plumber can assess the damage and recommend the best course of action.
- Extensive Leaks: For significant leaks that could indicate more profound problems within the faucet or plumbing system, consulting a plumber is wise to prevent further damage.
- Complex Faucet Design: Some modern faucets have intricate designs that require specialized knowledge and tools for repair. If you’re unsure about your faucet’s mechanism, a plumber can handle the job efficiently.
Related: The Perfect Layout For A Kitchen
By following these steps and considering the valuable tips, you’re well-equipped to tackle a leaky kitchen faucet in most cases. Remember, a successful DIY repair saves you money and empowers you to maintain your home with confidence. However, don’t be afraid to seek professional help for complex issues or when your comfort level isn’t met.