


We use a large amount of energy to heat our homes in the winter, and for those with air conditioning even more energy is used to cool the home in the height of the summer. However, often people don’t think about the amount of energy that is lost due to leakages. By using effective sealants, we could reduce the amount of lost energy significantly and save money on our energy bills.
This applies to having any new structural or flooring areas created or perhaps an item from Bespoke Oak Frames company http://www.bespoaktimberframes.co.uk. They design beautiful pieces and will ensure that they fitted and sealed professionally but over time substances such as sealant and caulk can degrade and need replacing.
Read on to discover the errors that can be avoided when caulking your home.

Foam Rods and Smoothing
If you have a large space to seal which is over half an inch across, it is not a good idea to simply add more caulk. You should use a foam rod (‘backer rod’) to insert into the space first. Also, the caulk needs to be smoothed with your hands or a tool to ensure it is even and there are no gaps.
Smooth caulk also means you can paint the surface more easily in the future. This is a vital step in the preparation of your home for future DIY tasks. Caulk can fill in any gaps between the walls and the skirting board or window frames.
Waterproofing and Checking
Caulk can require up to 24 hours to set before it can be exposed to water, so check on this. And make sure you check all around your home, including the attic or basement. It is not just the windows and doors that need checking, so try to be thorough.
Silicone, Not Acrylic
The caulk should be 100% silicone caulk, as this is waterproof, flexible and crack-proof. Acrylic is not a good choice, as it shrinks and leaves gaps for water and air to leak through.
Remove Old Caulk
You should always remove the old caulk before applying new caulk. This helps you to remove the mildew or mould that has formed there to make it clean and ready for a fresh application. The surface should be clean and dry before applying the new caulk.
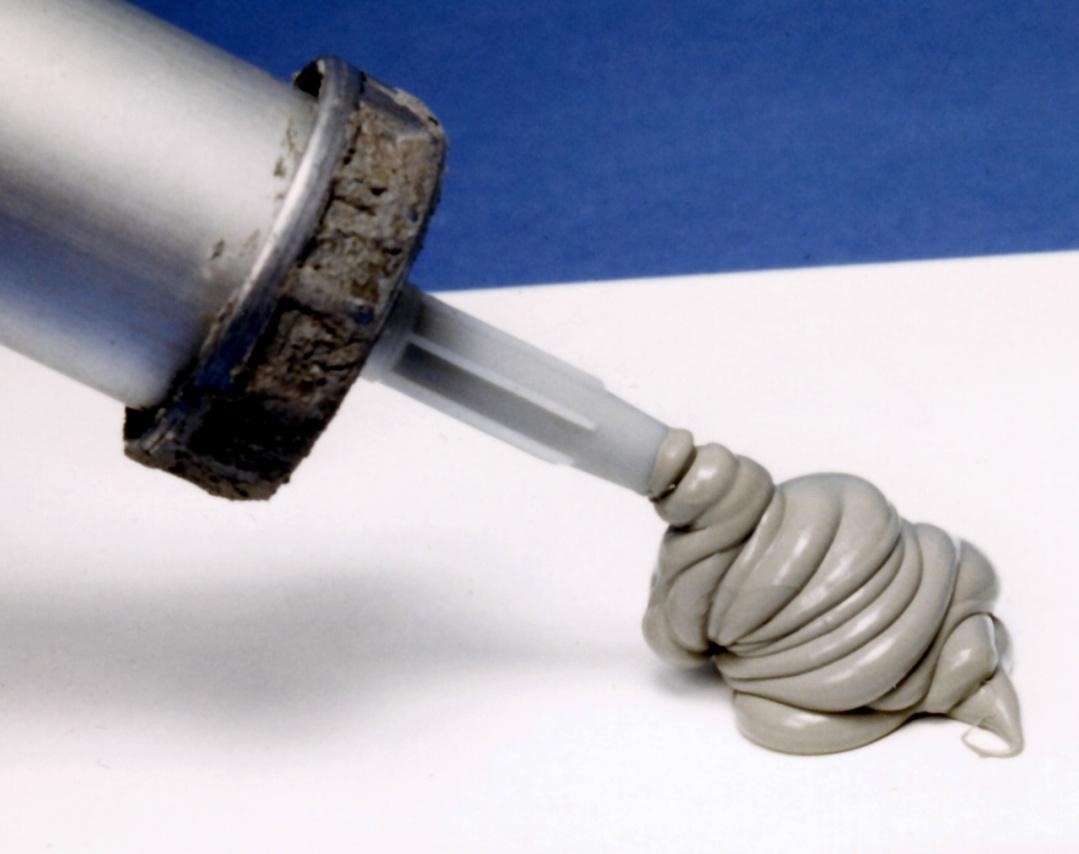
Proper Application
Make sure you use a proper caulk gun to apply the caulk and use a steady hand. You shouldn’t press too hard, as this can make the beading uneven. Steady the gun at a 45-degree angle and keep an even pressure while squeezing.
