

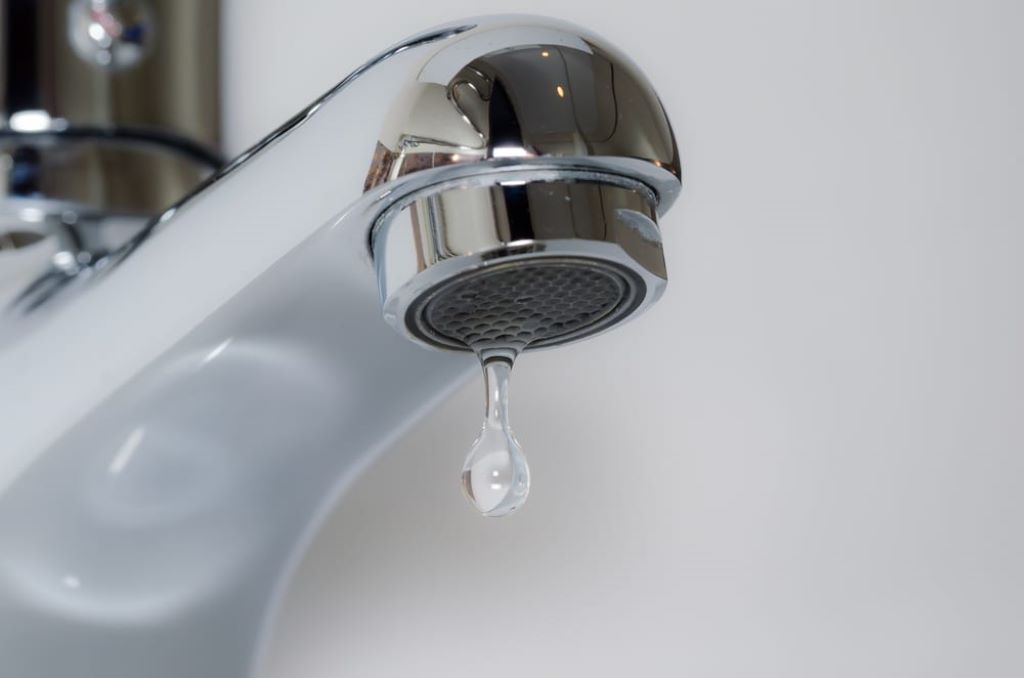
A leaky bathroom faucet isn’t just an annoyance – the constant drip, drip, drip can also lead to wasted water and higher bills. But don’t worry, fixing a faucet leak at the base is often a simple task that most homeowners can accomplish with a few essential tools and a bit of know-how.
In this guide, we’ll walk you through identifying the problem, gathering the necessary tools, and fixing the leak effectively.
Understanding the Problem: What Causes a Faucet to Leak?
Before diving into the repair, let’s understand the common reasons why faucets leak at the base:
- Damaged or Worn Out O-rings: O-rings are small rubber rings that create a watertight seal beneath the handle. Over time, they can get brittle, crack, or wear down, leading to leaks.
- Corroded Valve Seat: The valve seat is where the faucet connects to the water supply line. Corrosion or mineral buildup can cause improper sealing, leading to leaks around the base.
- Loose Mounting Hardware: If the nuts and bolts securing the faucet to the sink are loose, water can seep out around the base.
The Right Tools for the Job: Gather Your Supplies
Before you begin the repair work, make sure you have these essential tools and materials readily available:
- Adjustable Wrench: This is usually the handiest tool for most faucet repairs.
- Basin Wrench (optional): This specialized wrench is ideal for reaching tight spots like nuts under a sink.
- Plumber’s tape: Essential for creating watertight seals.
- Plumber’s grease (optional): Lubricates O-rings and other parts for smoother movement.
- Replacement O-rings (if necessary): Measure the old O-rings to find the correct size.
- Screwdriver: You’ll likely need this to remove handles.
- Flashlight: To see in tight, dark areas.
- Towel or Rag: For cleaning up water.
Step-by-Step Guide to Fixing the Leak
- Turn Off the Water Supply: Find the shutoff valves under your sink and turn them clockwise to stop the water flow. Turn on the faucet briefly to drain any remaining water from the lines.
- Remove the Faucet Handle: Depending on your faucet type, you may need to pry off a decorative cap and then loosen a set screw with a screwdriver or an Allen wrench.
- Unscrew the Packing Nut: This is the large nut directly beneath the handle. Use an adjustable wrench to loosen and remove it.
- Examine the O-Rings: Carefully inspect the O-rings around the faucet stem for damage or wear and tear. If they are cracked, hardened, or misshapen, you’ll need to replace them with identical ones.
- Inspect the Valve Seat: Use a flashlight to check the valve seat (where the faucet connects to the water supply). Look for corrosion, mineral buildup, or any irregularities. If it’s corroded, you might need to polish it with fine sandpaper or replace the valve seat.
- Replace O-rings (if necessary): If you’ve found worn O-rings, remove the old ones and use a cloth to clean any residue. Apply a thin layer of plumber’s grease to the new O-rings and slide them into place on the faucet stem.
- Reassemble the Faucet: Carefully reassemble the faucet parts in reverse order. Apply a small amount of plumber’s tape to threaded connections and tighten the packing nut. Don’t overtighten, as this could damage components.
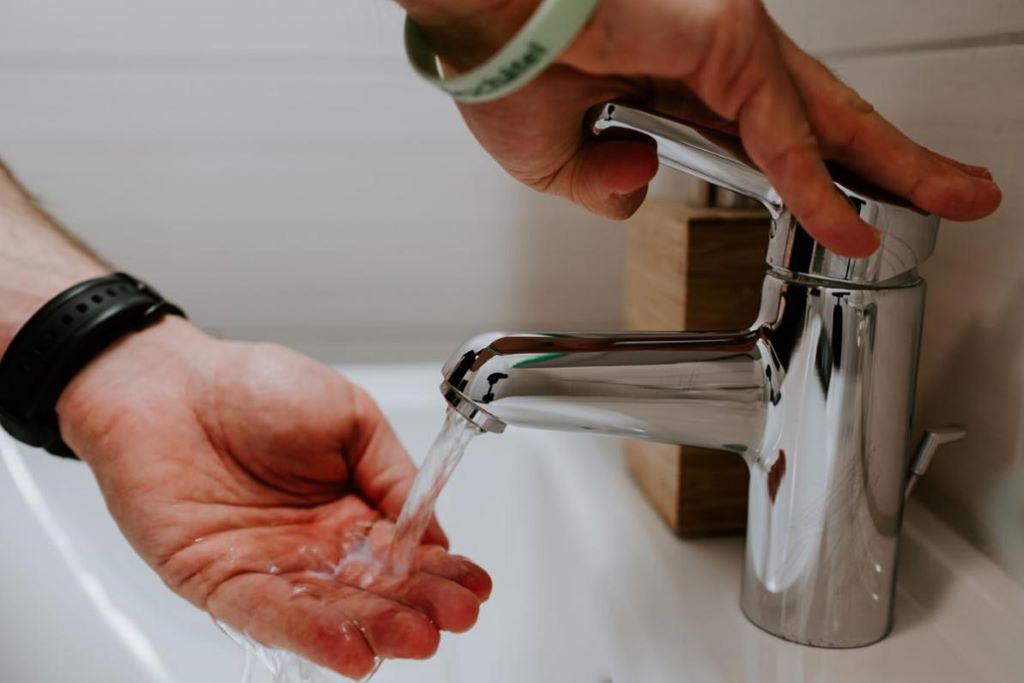
- Test Your Fix: Slowly turn on the water supply valves and check for leaks. Run the faucet for a few minutes to see if the problem is resolved.
Related: Conquering the Drip: A Guide to Fixing Your Leaky Kitchen Faucet
Additional Tips & Considerations
- Take pictures: If you’re unsure about how everything goes back together, take pictures during disassembly for reference.
- Know your faucet: Some faucets have cartridges instead of O-rings. If this is the case, you’ll likely need to replace the cartridge following the manufacturer’s instructions.
- Seek help if needed: If the leak persists or you find extensive damage, it might be time to call a professional plumber.
Preventing Future Leaks
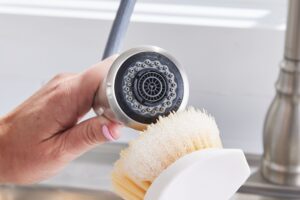
- Regular maintenance: Clean your faucet aerator periodically to prevent mineral buildup.
- Turn off faucets tightly: Ensure faucets are properly turned off after use.
By following these steps and tips, you can confidently fix that annoying leaky faucet and save yourself both water and money.