


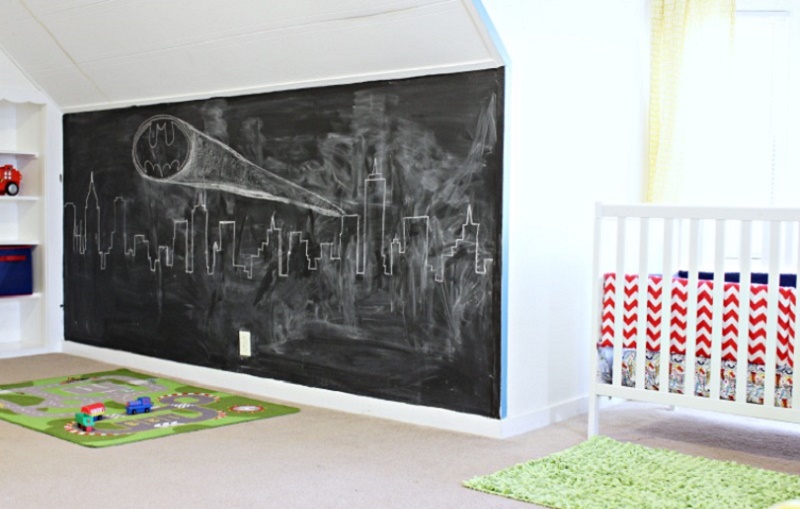
Turning a house wall into a chalkboard is a great idea for children’s bedrooms. To do this it is not necessary to install a chalkboard on the wall, but all you need is a special paint, called “chalkboard paint,” which can perfectly imitate the surface of a real chalkboard to such an extent that writing with the chalk will not feel any difference. Another good news is that this paint is completely erasable, so when the chalkboard is no longer used, it can be detached or covered with any type of paint. So let’s see how to make a wall into a chalkboard.
How to make a wall into a chalkboard
Needed:
- Chalkboard paint
- Cementitious Grout
- Roller or brush
- White latex primer
- Paper adhesive tape
- Fine-grained sandpaper
Prepare the wall
Before applying the chalkboard paint, it is necessary to prepare the wall properly. First of all, you need to fill in any holes in the nails or imperfections in the wall using normal cementitious grout; then you need to smooth the entire wall with fine-grained sandpaper to make it as smooth as possible. If you have textured walls, make them as easy as possible so that you can easily write on them with chalk. At this point, the area to be painted must be delimited with paper tape, to avoid that the black paint accidentally ends up on the areas of the wall not destined to the chalkboard.
Apply the first in white latex
Now coat the area with a white latex primer, preferably not a spray. Shake the can well before opening it, pour the primer into the roller tray and apply it on small areas of the wall. If the roller does not completely cover the entire area where the wall meets other walls or ceiling, apply the primer with a brush. At the end of the operation, thoroughly wash the roller (including the bowl) or the brush in fresh water and allow the wall to dry overnight.
Spread the chalkboard paint
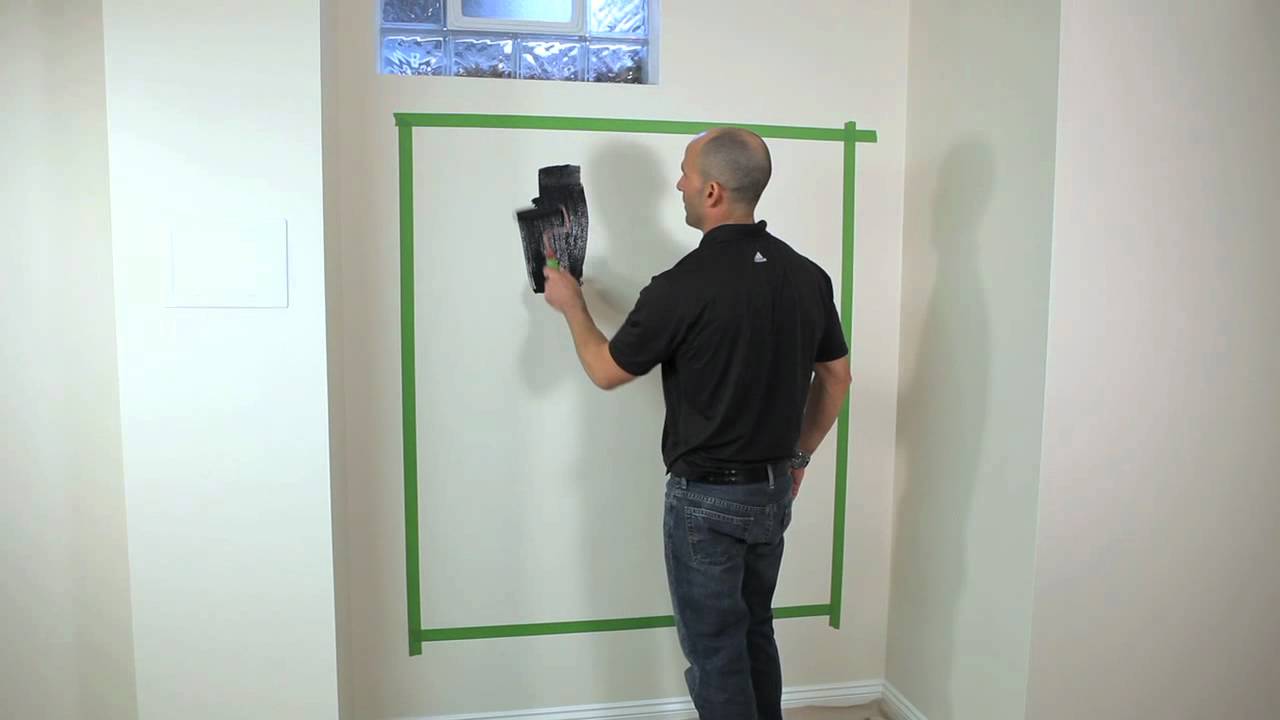
When the latex primer layer is completely dry, you can finally proceed with the application of the chalkboard paint. To do this, empty the paint in the roller tray and spread it out on the wall area you want to turn into the whiteboard, taking care not to come out of the edges previously delimited with the adhesive tape. When the entire area has become completely black, the work can be considered completed. When the chalkboard paint will be dry, remove the adhesive tape and test the surface with various types of gypsum.