


Setting up your new O’Cedar spin mop can feel overwhelming at first glance. Many homeowners struggle with the assembly process, wondering if they’re connecting the pieces correctly. The experts at Think House Creative understand this challenge and have created this comprehensive guide to help you get your mop ready for action.
The O’Cedar spin mop system revolutionizes floor cleaning with its innovative design. However, proper assembly ensures optimal performance and longevity. This guide walks you through every step, making the process simple and straightforward.
Most people find that following detailed o’cedar spin mop instructions prevents common assembly mistakes. With the right approach, you’ll have your mop assembled and ready to tackle dirty floors in just minutes.
What’s Included in Your O’Cedar Spin Mop Package
Before starting assembly, verify that your package contains all necessary components. The standard O’Cedar spin mop kit includes several essential parts that work together seamlessly.
Your package should contain a telescopic handle with multiple sections. These sections connect to create the full-length mop handle. You’ll also find the mop head assembly, which includes the spinning mechanism and microfiber pad attachment system.
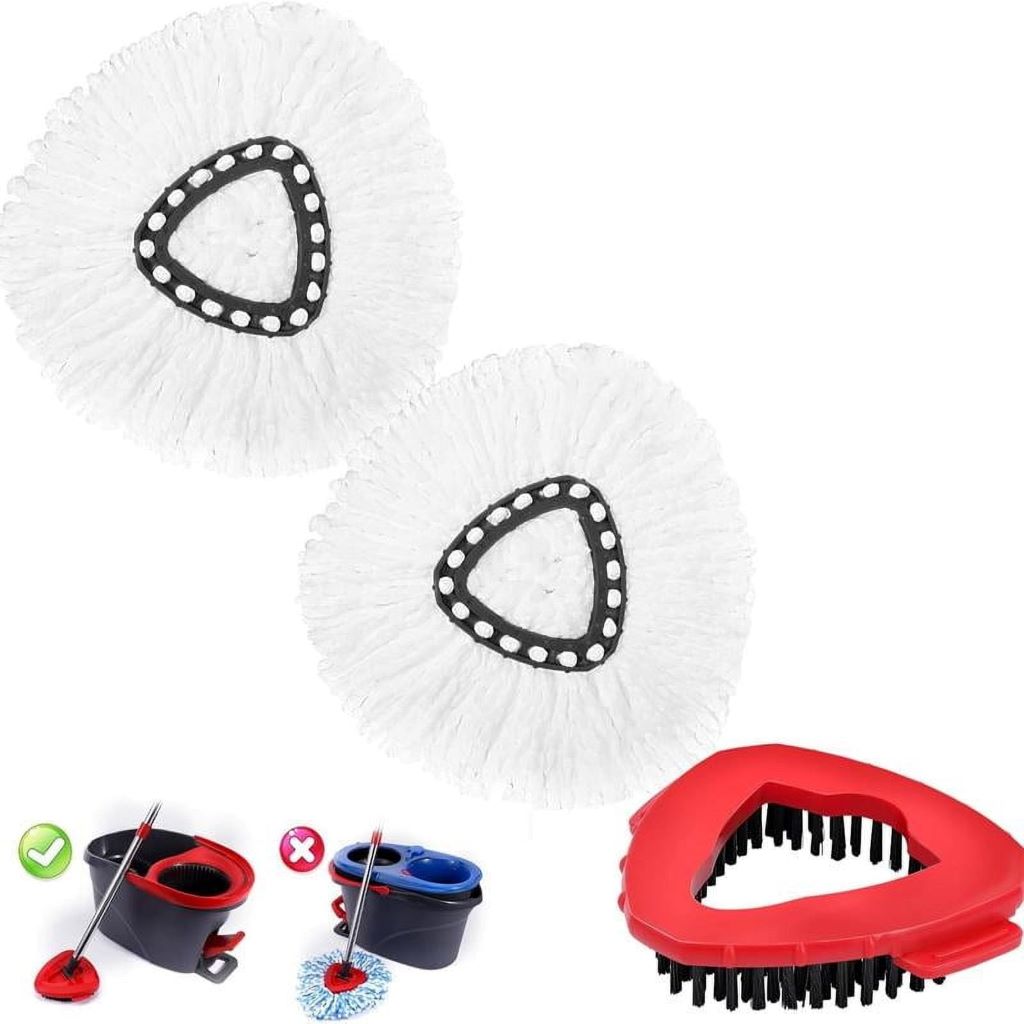
The bucket comes with a built-in spinning basket and foot pedal mechanism. Some models include additional microfiber refill pads and a splash guard. Check your specific model’s contents against the included parts list to ensure everything arrived safely.
Preparing Your Workspace for Assembly
Choose a clean, well-lit area with enough space to lay out all components. A dining table or kitchen counter provides an ideal work surface. Having adequate lighting helps you see connection points clearly and avoid forcing pieces together incorrectly.
Remove all packaging materials and arrange components in the order you’ll assemble them. This organization prevents confusion and speeds up the process. Keep the instruction manual nearby for quick reference during assembly.
Wipe down each component with a damp cloth to remove any manufacturing residue. This step ensures clean connections and prevents debris from interfering with moving parts.
Step-by-Step Handle Assembly Process
Start by identifying the handle sections, which typically include a top grip section, middle extension pieces, and a bottom connector piece. The sections are designed to fit together in a specific order for maximum stability.
Begin with the bottom section that connects to the mop head. This piece usually has threading or a locking mechanism designed to secure the mop head assembly. Insert the next section firmly until you hear or feel it click into place.
Continue adding sections in order, ensuring each connection is secure before moving to the next piece. The telescopic design allows you to adjust the handle length by extending or retracting sections as needed.
Test each connection by gently twisting and pulling to verify proper engagement. Loose connections can cause the handle to separate during use, creating frustration and potential safety hazards.
Attaching the Mop Head Assembly
The mop head assembly represents the most crucial component of your O’Cedar spin mop system. This piece contains the spinning mechanism that makes the mop so effective at cleaning floors.
Locate the threaded connection point at the bottom of your assembled handle. The mop head assembly screws onto this connection point in a clockwise direction. Apply steady pressure while turning to ensure proper threading.
Some models feature a snap-on connection system instead of threading. For these models, align the connection points and push firmly until you hear an audible click. The mop head should feel secure and not wobble when attached correctly.
Check the microfiber pad attachment system next. The pad should slide over the mop head base and secure with the provided elastic band or clip mechanism. Ensure the pad lies flat against the mop head surface for optimal cleaning performance.
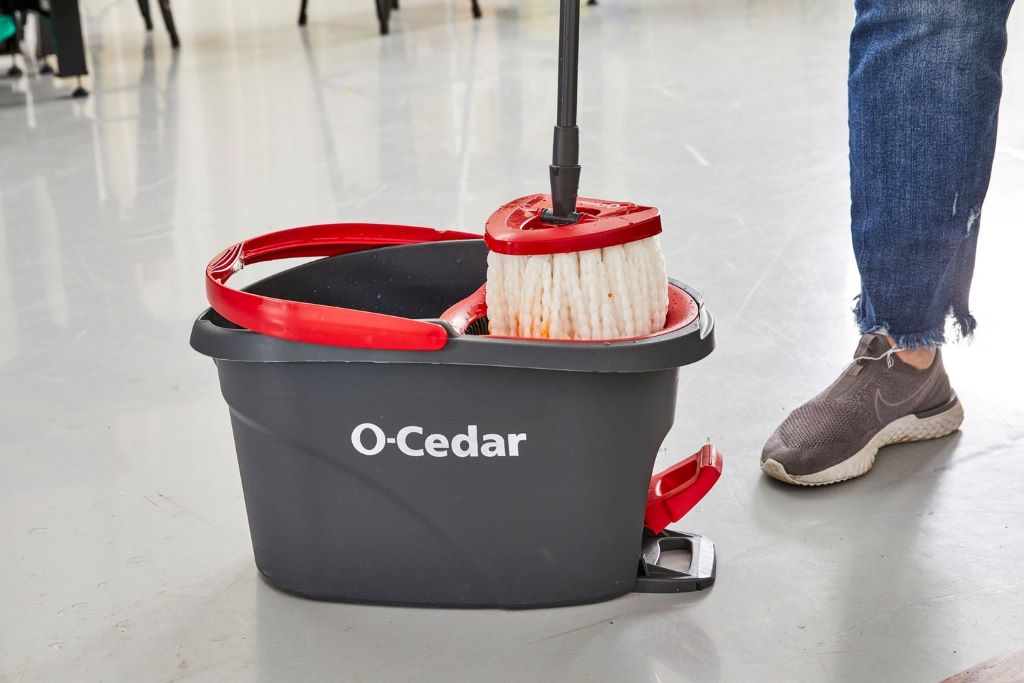
Setting Up Your Spinning Bucket
The spinning bucket requires minimal assembly but proper setup for optimal performance. Start by removing any packaging materials from inside the bucket and spinning basket.
Insert the spinning basket into the bucket, ensuring it sits flush with the bottom. The basket should spin freely without catching on the bucket walls. If resistance occurs, check for debris or improper seating.
Attach the foot pedal mechanism according to your model’s specifications. Most pedals simply clip onto the bucket side and connect to the spinning basket with a small chain or rod. Test the pedal action to verify smooth operation.
Fill the bucket with water to the indicated fill line for your first test. The water level affects spinning efficiency, so proper filling ensures optimal wringing performance.
Testing Your Assembled O’Cedar Spin Mop
Before tackling your floors, perform a quick test to ensure everything functions correctly. Dip the mop head in clean water and place it in the spinning basket. Press the foot pedal and observe the spinning action.
The mop head should spin smoothly without excessive vibration or noise. If problems occur, check all connections and ensure the spinning basket sits properly in the bucket. Loose components often cause operational issues.
Test the handle’s telescopic function by extending and retracting sections. Each section should move smoothly and lock securely at your desired length. This adjustability makes the mop comfortable for users of different heights.
Verify that the microfiber pad stays securely attached during spinning. A properly attached pad remains in place throughout the wringing process and doesn’t slip or bunch up.
Common Assembly Mistakes to Avoid
Many users make simple mistakes that affect their mop’s performance. Forcing connections that don’t align properly can damage threading or locking mechanisms. Always ensure proper alignment before applying pressure.
Over-tightening connections can strip threads or crack plastic components. Tighten connections firmly but avoid excessive force. The goal is security, not maximum tightness.
Installing handle sections in the wrong order creates instability and potential connection failures. Follow the numbered sequence or color coding system provided by O’Cedar for proper assembly.
Forgetting to test the spinning mechanism before first use can lead to disappointing cleaning results. Always verify proper operation with clean water before adding cleaning solutions.
Maintenance Tips for Long-lasting Performance
Regular maintenance keeps your O’Cedar spin mop functioning like new for years. After each use, rinse all components with clean water to remove dirt and cleaning solution residue.
Check connection points periodically for wear or damage. Loose connections can worsen over time, potentially causing component failure during use. Tighten as needed to maintain proper function.
Replace microfiber pads when they become worn or lose their cleaning effectiveness. Fresh pads ensure optimal floor cleaning and prevent spreading dirt around your home.
Store your assembled mop in a dry location to prevent moisture-related damage to metal components. Proper storage extends the life of moving parts and prevents rust formation.
Troubleshooting Assembly Issues
If handle sections won’t connect, check for debris in connection points or misaligned components. Clean connections with a damp cloth and ensure proper orientation before attempting to connect again.
Wobbly connections often indicate incomplete engagement or worn components. Disassemble and reassemble the affected sections, ensuring complete engagement of all locking mechanisms.
If the spinning mechanism doesn’t function smoothly, verify that the basket sits properly in the bucket and that no debris interferes with movement. Lubrication is generally not recommended for these systems.
When the mop head feels loose during use, check both the handle connection and the microfiber pad attachment. Both connection points must be secure for effective cleaning performance.
Conclusion
Assembling your O’Cedar spin mop correctly ensures years of effective floor cleaning performance. Following these detailed steps prevents common mistakes and guarantees proper function from day one. Remember to test all connections and mechanisms before your first cleaning session.
The key to success lies in patience and attention to detail during assembly. Taking time to properly connect each component saves frustration later and maximizes your mop’s cleaning potential. With proper assembly and maintenance, your O’Cedar spin mop will keep your floors spotless for years to come.
Regular maintenance and proper storage extend the life of your investment while ensuring consistent cleaning results. When assembly questions arise, refer back to this guide or consult the manufacturer’s instructions for model-specific details.
Frequently Asked Questions
How long does O’Cedar spin mop assembly take? Most users complete assembly in 10-15 minutes when following proper instructions. Taking your time ensures correct assembly and prevents mistakes that require disassembly and reassembly.
Can I adjust the handle length after assembly? Yes, the telescopic handle design allows length adjustment even after complete assembly. Simply extend or retract sections to find your comfortable cleaning height.
What should I do if parts seem damaged during assembly? Stop assembly immediately and contact O’Cedar customer service for replacement parts. Using damaged components can compromise mop performance and safety.
Is it normal for the spinning basket to make noise? Some operational noise is normal, but excessive grinding or squealing indicates a problem. Check for debris or improper installation if unusual noises occur.
How often should I replace the microfiber pad? Replace pads when they lose absorbency or show significant wear, typically every 3-6 months with regular use. Having multiple pads allows rotation and extends overall pad life.
Read More:
Festive Finishing Touches: Pressure Wash Your Walkway for Holiday Guests